Tuesday, 17 July 2012

Playdough Tracks

Miss M isn't well today and has been asleep early, so I have been trying to keep Master E's noise to a minimum. A perfect opportunity to break out a new batch of playdough.


Master E decided to drive his car through. We talked about the tracks it was making and I showed him how to smooth the playdough out to create new tracks. This kept him occupied for a long time. So I went to find some other cars that would make good tracks.

This motorbike made the best tracks and was the easiest to drive across the playdough. It lead to lots of discussions about textures. Using lots of describing words (smooth, bumpy, rough)


The Taxi is Master E's current favourite car and was used to make the majority of the tracks. 

He went on to make a ramp, by himself to push the cars down.

Making more tracks.
Once Miss M was up she wanted to get into the action too. I gave her farm animals and she spent a long time pushing them in and out  of the playdough making footprints.

Miss M adding as many things to her playdough as she possibly can!

This playdough play lasted for more than an hour and a half with Master E. He was very engaged and loved making all the different tracks. It was a great oppotunity to increase his language and continue to develop his fine motor skills.

Monday, 16 July 2012

Paper Plate Tambourines

Looking for an easy craft to fill in a Winter afternoon. These Paper Plate Tambourines are super easy and made with items you can find in your pantry!


Here is what we started with, some paper plates, macaroni (any pasta will do, this is just what I had in the cupboard!) and some cellophane cut into strips.

Before we started, I turned two plates over so as to create a pocket in the centre and then stapled around the outside, making sure to leave an opening at the top so the children could add their pasta. We decorated our tambourines, added the pasta and stapled to close off the gap, adding some stripes of cellophane for tails.

Miss M busy decorating her tambourine with textas.

Master S with his finished tambourine, all ready to make some music!

Master E using his Tambourine as a steerling wheel!

Miss A and Miss O looking very proud of their efforts!
The gorgeous Miss L with her tambourine.


Sunday, 15 July 2012

Our Favourite Playdough Recipe

We use playdough every other day. We have tried and tested a few recipes including this one for Jelly Playdough. Our favourite is cooked playdough.

Here is the recipe we follow

Ingredients


  • 2 cups plain flour
  • 4 tablespoons cream of tartar
  • 2 tablespoons cooking oil (we use canola)
  • 1 cup of salt (we use cheap table salt)
  • food colouring
  • 2 cups of water

Method
Mix all the ingredients in a sauce pan, stir over medium heat for 3-5 minutes or until mixture congeals.


We find that this recipe works every time. The playdough is smooth and springy and lasts for ages in a sealed air tight container.

Hope it works as well for you!
Happy Creating!


Wednesday, 11 July 2012

Playdough Baking

Master E and Miss M are so very keen on playdough and cooking that we have decided to combine the two. As much as I love playdough, I personally am a bit over rolling it out and using various cutters to cut shapes for the monkeys. So we added a few new elements to our playdough play, and the play is lasting much longer and with far less intervention needed by me!!! Which means although I am there to help, I can sneak in a cup of much needed coffee!!! :)

For starters we added in patty pans, foil baking cases, bottle tops, yoghurt containers, candles and match sticks.
This generated much interest and kept them entertained for a very long time. I did spend a lot of time singing happy birthday and blowing out many, MANY candles!!!

Once interest had started to dissipate we spiced the playdough up by adding in some sprinkles. (love these ones made with natural colours and flavours!)

Master E enjoyed pouring the sprinkles onto and then making sure they were pushed in.


Miss M took at different approach and spent ages pushing her sprinkles in one by one.

We did end up with lots of sprinkles on the table, I showed Master E how to roll the playdough into balls and the roll  the balls in the sprinkles to make a coating.

Miss M thought this looked great too and got in on the act!


The sprinkles extended the length of playdough play by at least half and hour if not more. Which is a win for me and the kids had a ball. The playdough however, will not live to see another play as the sprinkles have made it quite sticky.
Was well worth it though.

Hope you enjoyed our playdough cooking. Am off to whip up a new batch now!

Wednesday, 4 July 2012

Zip Lock Bag Butterflies

I love searching the internet for wonderful crafts clever people have already thought of. Here is a super simple craft you can do with things you have at home! Easy butterflies, made using zip lock bags, tissue paper and pipecleaners. Thanks to Busy Bee Kids Crafts for this one!!!


Here is what we did.

1. Before we started I cut the tops off the zip lock bags just above the zip so that they still closed but didn't have any over hang.

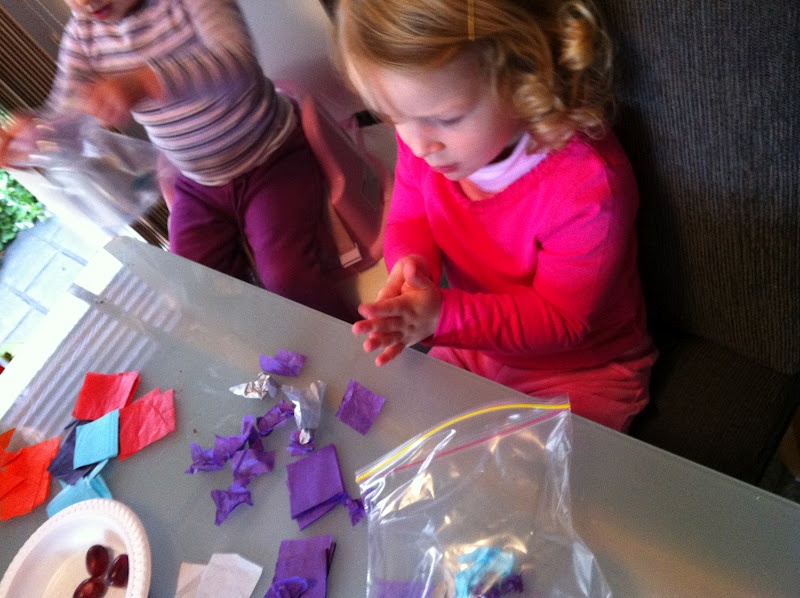
2. Scrunched up little squares of tissue paper to fill the bags (about half way, fabulous for fine motor)

3. Closed the bags carefully squeezing out as much of the air as we could.

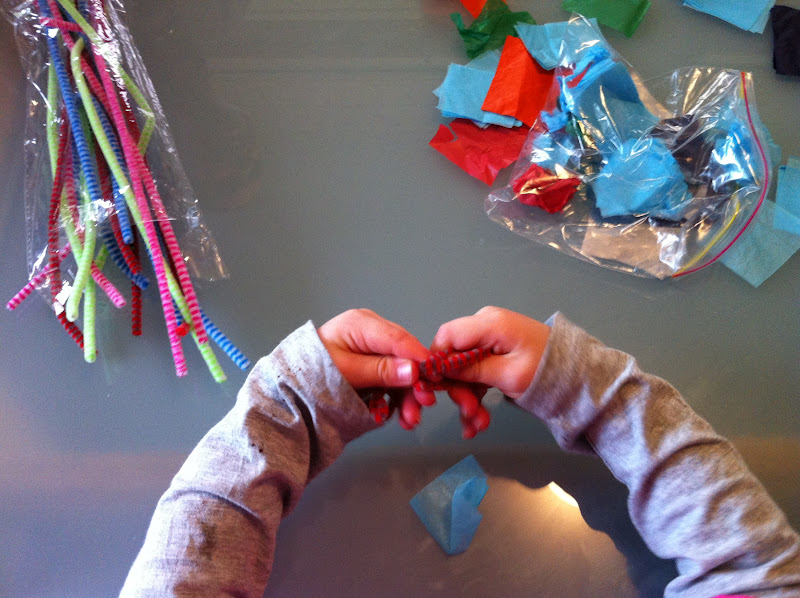
4. Gather the bag in the middle and wrap a pipecleaner around a couple of times leaving two ends to be bent into antennae.

5. Voila Zip lock bag butterflies!

Miss A very busy scrunching her tissue paper into balls to put into her bag.

Miss L, Miss G and Miss A all busy scrunching!

Master J filling up his bag.
Miss M and the lovely birthday girl Miss O filling their bags.
Testing out the pipecleaners.


Carefully squeezing the air out of the bag.

Master E flying his butterfly!


Friday, 29 June 2012

Simple Sorting

I came across this idea on the Crafty Mumma's Facebook page and loved it. Such a simple activity to make and educational too!!
So here's how we did it. While Master E and Miss M were asleep I added coloured paper spots to the bottom of an egg carton for some colour matching fun.
We headed outside to see what we could find!

All ready for some matching! 

Master E picking some RED leaves to pop into the red spot.


Slowly getting there. White flower, red leaves, brown stick, green leaves, purple flowers!

Miss M was keen to help but not so great at working out where things should go.


All done, we found something for each spot minus the light blue! Master E got right into the matching and was really good at finding the colours. He did need a bit of direction, for example I would say "Can you find something to put in the white spot?" and off he would go searching for the appropriate colour. With some of the more difficult colours I would prompt with "I can see something for the blue spot" followed by a location.   

Master E was really into this one and when we came inside he started to do some matching with his cars.


Wednesday, 13 June 2012

Fruit and Vegetable Printing

This is a really simple and very effective printing activity. Choose a variety of fruits and vegetable to create prints from. We used potatoes, orange and apples. If you cut the apple across ways and remove the seeds you reveal a fabulous star shape which looks brilliant when printing. 


I cut a few apples, oranges and potatoes in half and mixed up some simple colours in poster paints on some lids from margarine containers.

The fruit and vegetables were cut into chunky pieces that were easy for little hands to hold. 

Sliding the fruit and veg made some great colouring mixing occur!

We also had some great paint pads which worked brilliantly with the oranges showing all of the lines and details very clearly.


 Some hand painting and face painting added to the sensory experience.   

 The results were simple yet very effective and will look great on my wall!